Storing and managing data efficiently is crucial when handling huge amounts of data in Databricks. Having a high-performance storage solution is essential. DBFS (Databricks File System) is designed for this purpose. It’s natively integrated into Databricks and acts as an abstraction layer on top of object storage services like AWS S3, Azure Blob Storage, Azure Data Lake Storage Gen2, or Google Cloud Storage (GCS). As data accumulates over time, you might need to clean up your storage by deleting outdated or unnecessary files or folders from DBFS to maintain performance and manage space. Deleting folders can be necessary for organizing data, removing test data, or freeing up resources for new datasets.
Before we dive into the article, there’s something worth saying upfront: DBFS root and DBFS mounts are officially deprecated by Databricks. New accounts are provisioned without access to them. Databricks now recommends Unity Catalog volumes, external locations, or workspace files instead. That said, plenty of teams still run workloads on legacy DBFS setups. If you are one of them, then this article is for you.
In this article, we will provide a step-by-step guide to delete folder from DBFS. Here, we will explore four techniques for folder deletion—using the Databricks CLI, Databricks Notebooks, the Databricks REST API and the Databricks UI. Each technique has its own advantages and we will guide you through them step by step.
What is Databricks File System (DBFS)?
DBFS (Databricks File System) is essentially a layer over your cloud storage associated with your Databricks Workspace, such as AWS S3, Azure Blob Storage, Azure Data Lake Storage Gen2, or Google Cloud Storage (GCS). It provides a file system interface and is designed to handle big data workloads efficiently.
Databricks DBFS consists of two key components:
- DBFS Root: DBFS Root is the top-level directory created when your Databricks Workspace is set up. All files and folders in DBFS are organized under this root.
- DBFS Mount: Mounting allows you to access external storage as if it were part of DBFS.
Check out this article to learn more in-depth about Databricks DBFS.
In our previous articles, we covered step-by-step guides on how to upload files to DBFS and download files from DBFS. Here, we will cover 4 different techniques to delete folder in DBFS.
Now, without any further ado, let’s dive right into it!
Step-by-step guide to delete folder from DBFS
Let’s start with a step-by-step guide on how to delete a folder from DBFS to your local machine. We will explore 4 different techniques:
- Technique 1—Delete Folder from DBFS Using Databricks CLI
- Technique 2—Delete Folder from DBFS Using Databricks Notebook
- Technique 3—Delete Folder from DBFS Using Databricks REST API
- Technique 4—Delete Folder from DBFS Using Databricks UI
A quick note on scale limits
This applies to all four techniques, so read it now:
For the CLI and REST API, Databricks strongly discourages using these tools when you’re deleting more than 10,000 files. The list operation times out after roughly 60 seconds. The delete operation proceeds in batches and returns PARTIAL_DELETE (503) errors until it finishes; meaning you’d need to re-invoke the request repeatedly. For large-scale deletions, use dbutils.fs inside a Databricks Notebook (Technique 2) instead.
Prerequisites
First things first, before you start, you need to meet this prerequisite:
- You need access to a Databricks Workspace.
- Install and configure the Databricks CLI (latest version).
- Have the necessary permissions to access folder paths in Databricks DBFS.
- Know the exact path of the folder you want to delete.
Technique 1—Delete folder from DBFS using Databricks CLI
Using the Databricks CLI technique is one of the most straightforward methods to delete folder from DBFS. Follow these steps:
Step 1—Install Databricks CLI
If you haven’t installed the Databricks CLI yet, you can quickly set it up on your preferred operating system. Refer to the following guide for step-by-step instructions on installing the Databricks CLI on Linux, macOS and Windows. Here’s how to install it on each platform:
For this article, we will be using Windows OS.
Step 2—Configure Databricks CLI
After installing the Databricks CLI, you need to authenticate it to connect to your Databricks Workspace. The most common method is using a Personal Access Token and setting up a configuration profile.
a) Generate a personal access token
Personal Access Token acts like a password for authenticating the CLI with your workspace. To generate one:
Open your Databricks Workspace and navigate to User Settings under your username.
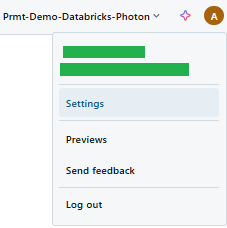
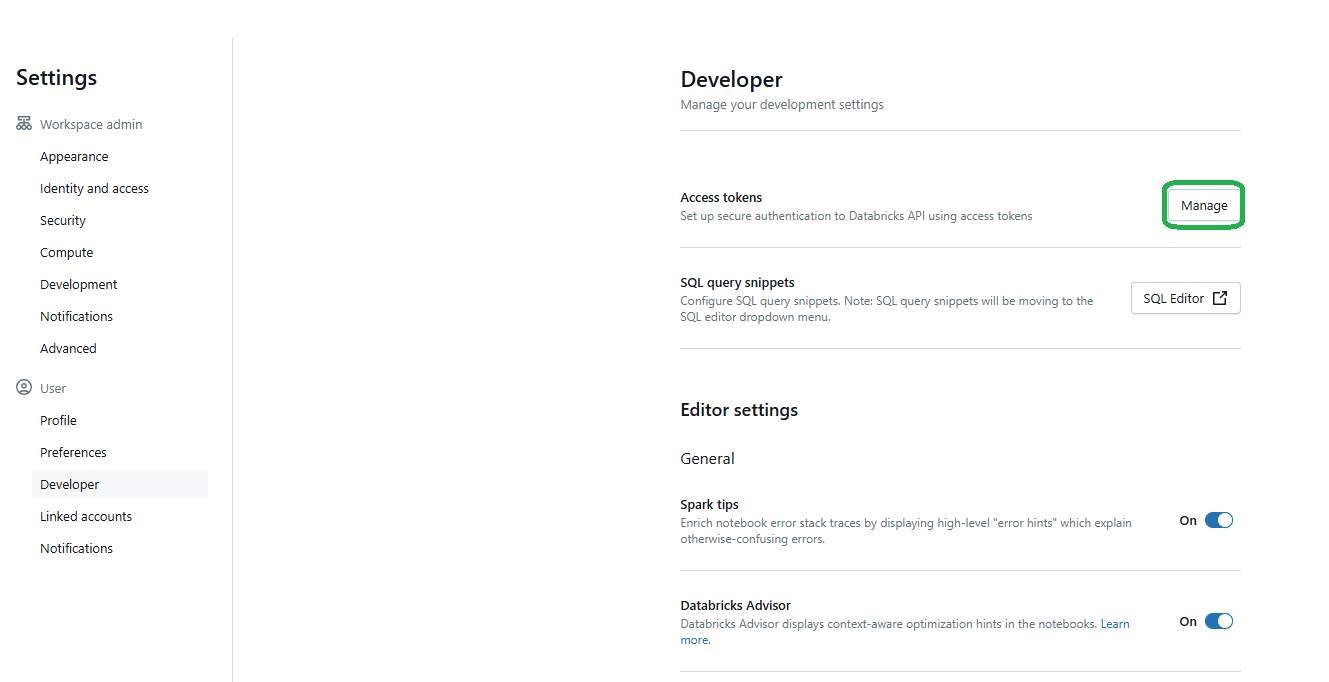
In the Access Token section (under Developer Settings), create a new token.
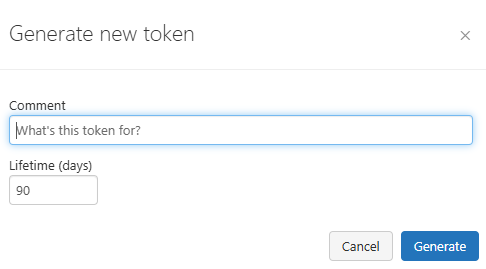
Add a comment to describe its purpose, set an expiration date and click Generate.
Copy the token and save it securely—it won’t be accessible later.
b) Configure a Profile with the Token
Now, configure the CLI to use the token for authentication. Open your terminal and run:
databricks configure You’ll be prompted to:
Enter your Databricks Workspace URL:
https://dbc-123456789.cloud.databricks.comThen, paste the token you just created.
This creates a profile in your .databrickscfg file automatically.
Alternatively, you can set up the .databrickscfg file manually in your home directory. Use this format:
[DEFAULT]
host = https://xxxx.cloud.databricks.com
token = XXXXXXXXXXXXXXXXXXXX

[PROFILE_NAME]
host = https://yyyy.cloud.databricks.com
token = XXXXXXXXXXXXXXXXXXXX
You can also customize the file’s location by setting an environment variable.
c) Verify authentication
To check if the configuration works, list your profiles:
databricks auth profiles 
Or test authentication with a command like:
databricks clusters spark-versionsOnce authenticated, the Databricks CLI is ready to interact with your Databricks Workspace.
Step 3—List Databricks DBFS contents
With the Databricks CLI installed and configured, you can now interact with files in Databricks DBFS. Start by listing the files in the directory where your target file is stored. This helps you confirm the file’s exact path and check that it’s available for download.
To list files in a specific Databricks DBFS directory, run:
databricks fs ls dbfs:/<folder-path>You have to replace <folder-path> with the folder path in Databricks DBFS where the file is located.
Step 4—Delete folder using Databricks CLI
Now, to delete a folder and its contents in Databricks DBFS, use the following command:
databricks fs rm -r dbfs:/<folder-path>Replace <folder-path> with the actual folder path in Databricks DBFS you wish to delete. The -r flag ensures that the operation is recursive, deleting all contents within the folder.
Step 5—Verify the deleted folder from DBFS
To confirm that the folder has been deleted, you can list the contents of the parent directory:
databricks fs ls dbfs:/As you can see, this command will display the remaining contents of the parent directory, allowing you to verify that the target folder has been removed.
Now, let’s proceed to the next technique, where we’ll explore deleting a folder from DBFS using a Databricks Notebook.
Technique 2—Delete folder from DBFS using Databricks Notebook
This technique involves using Databricks Notebooks to interact with and delete folders from DBFS. It’s a more visual and interactive method compared to the Databricks CLI approach. Here’s a step-by-step guide:
Step 1—Log in to Databricks account
First start by logging into your Databricks account using your credentials. This should be straightforward if you’ve already set up your account.
Step 2—Navigate to Databricks workspace
Once logged in, locate and open the Workspace section in the Databricks UI. This is where you manage your notebooks, clusters and data.
Step 3—Configure and start Databricks compute cluster
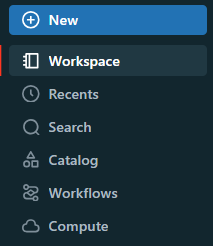
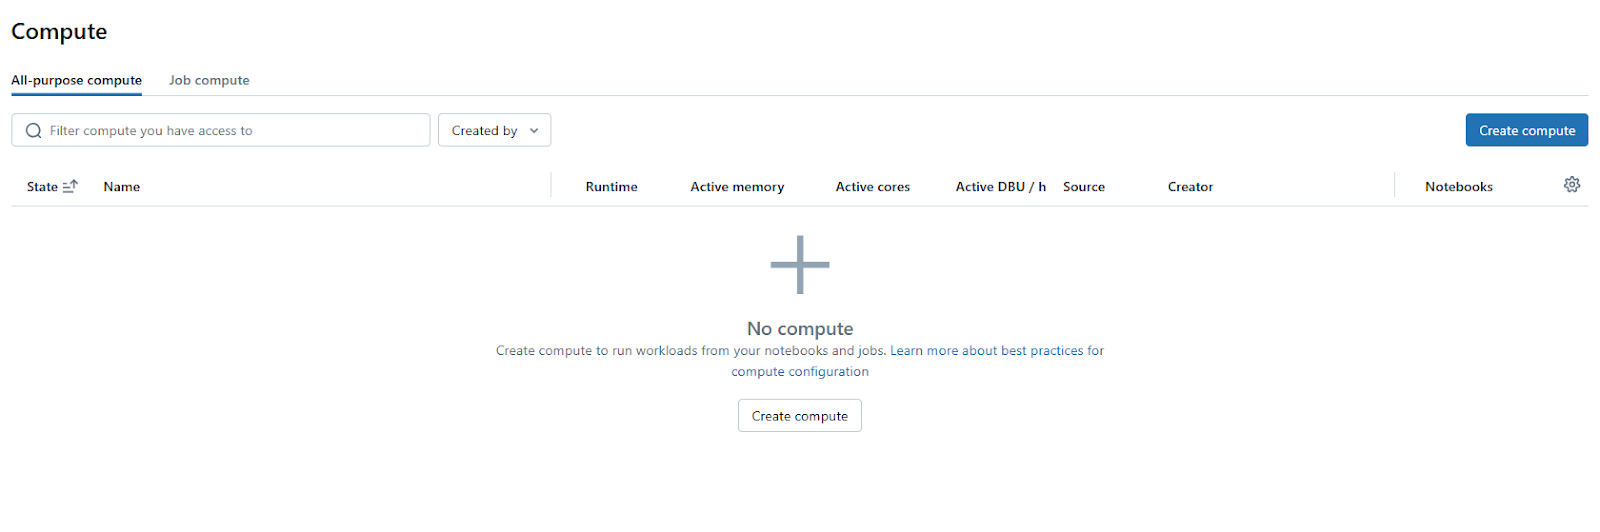
Before you can run any code or interact with Databricks DBFS in a notebook, you need an active Databricks compute cluster. To do so, go to the “Compute” section on the left sidebar. If you don’t have a cluster or need a new one, click “Create Compute”.
Then, configure the cluster settings according to your needs.
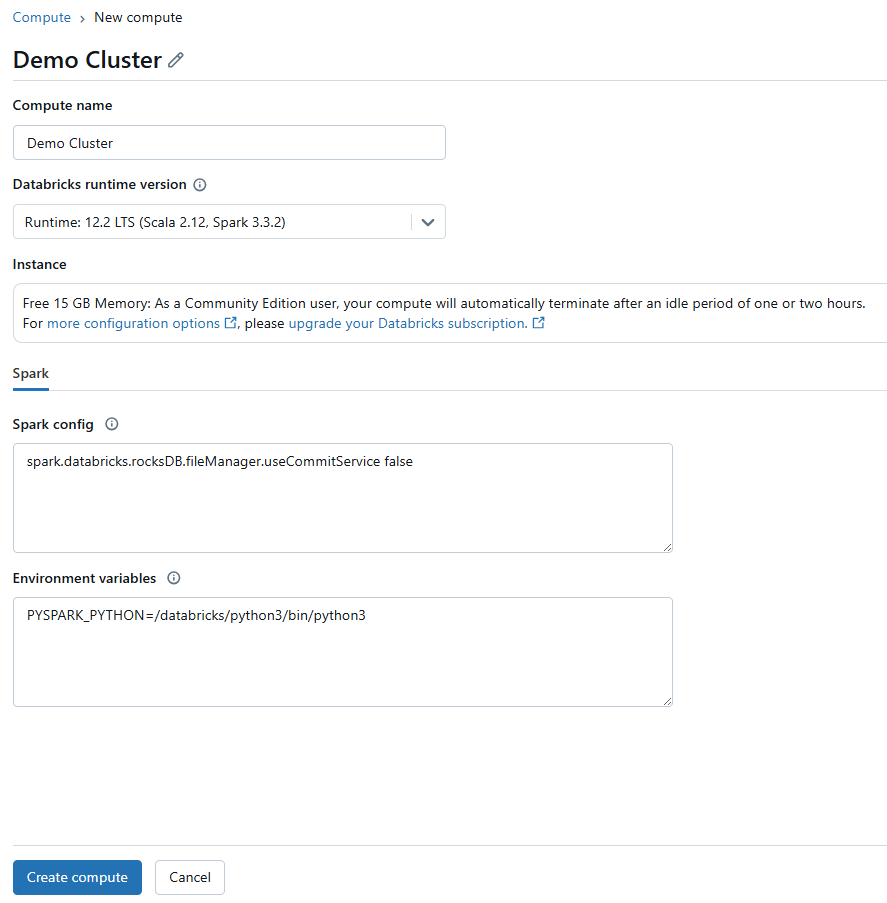
Start the cluster if it’s not already running.
Step 4—Open a new Databricks Notebook
Head over to your workspace, click “+ New” then “Notebook“.
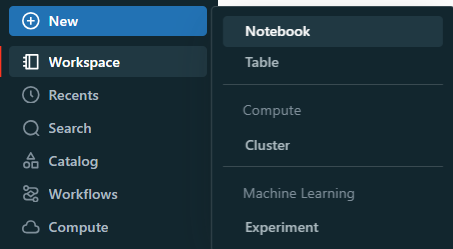
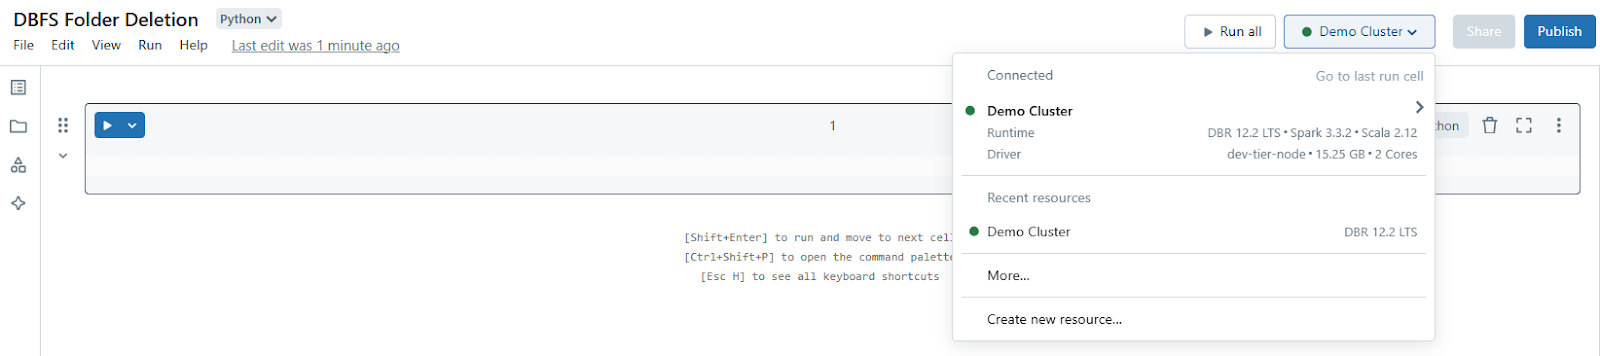
Choose a language (Python, Scala, R, or SQL). For this example, we’ll use Python. Give your notebook a name that reflects its purpose, like “DBFS Folder Deletion“.

Step 5—Attach Databricks Notebook to cluster
At the top of your newly created notebook, there’s an option to “Connect” a cluster.
Select the cluster you configured or created in Step 3.
Step 6—List DBFS contents
Databricks provides %fs Databricks magic commands for file system operations:
In a new cell, type:
%fs ls dbfs:/
As you can see, this command lists all files and directories at the root of your Databricks DBFS. Replace dbfs:/ with your specific path if you’re looking at a different directory.
%fs ls dbfs:/FileStoreOr
dbutils.fs.ls("dbfs:/<folder-path>")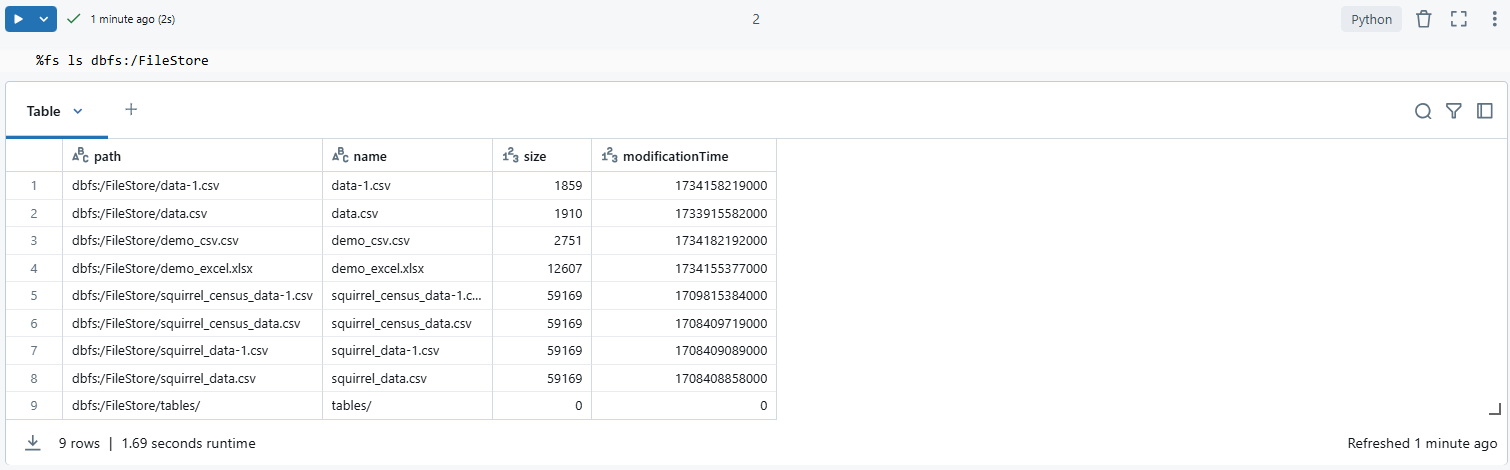
Step 7—Delete folder using dbutils command
Use the dbutils library to delete the folder. To do so, in another cell, use the dbutils.fs.rm function. Here’s how:
dbutils.fs.rm("dbfs:/<folder-path>", recurse=True)dbfs:/<folder-path>should be replaced with the actual path to your folder.recurse=Trueensures that all contents within the folder are deleted as well. This is critical since Databricks DBFS doesn’t allow deleting non-empty directories without this flag.

You can use the same technique to delete a specific file from a folder. Simply specify the file path, including the filename and execute the command. Here’s an example:
dbutils.fs.rm("dbfs:/<folder-path>/filename.csv")You will se that this command removes the specified file from the Databricks File System (DBFS).
Step 8—Verify the deleted folder from DBFS
To confirm the folder has been deleted, list the parent directory again:
%fs ls dbfs:/<folder-path>If the folder was successfully deleted, it will no longer appear in the output.
Deleting a folder from DBFS using a Databricks Notebook is super handy if you’re already working in a Databricks Notebook environment or want to tie this task into a bigger workflow. This way, you get instant feedback in the Databricks Notebook interface, which is really helpful for troubleshooting or just confirming everything worked as planned.
Let’s move on to the next technique: a programmatic way to delete folder from DBFS using the Databricks REST API.
Technique 3—Delete folder from DBFS using Databricks REST API
Planning to use Databricks REST API to delete folders? This technique is might come in handy. With the help of Databricks REST API, you can programmatically manage DBFS operations, which is especially useful for automating workflows or integrating with other tools. Here’s how you can go about it:
Step 1—Configure Databricks Cluster
Although this step is not strictly necessary for the API operations, having a configured cluster ensures you have a workspace where you can test or run additional operations if needed:
Log in to your Databricks Workspace.
Navigate to “Compute” and check whether you have a running cluster or create one if you haven’t yet. The cluster itself isn’t directly used for these API calls, but it’s good for context or further operations.
Step 2—Generate a personal access token
The process for this step is same to the approach outlined in Technique 1. You will follow the same steps, starting from Step 2 of Technique 1. Here’s a quick recap:
Navigate to “User Settings” in your Databricks Workspace by selecting your profile in the upper-right corner. Under the “Access Token” section, located within “Developer Settings“, create a new token. Add a descriptive comment to indicate its purpose, set an expiration date that suits your needs and then click Generate to create the token.


Step 3—Identify the target
Before you start, know exactly which folder you want to delete. You can use the Databricks UI or any of the previously mentioned CLI or Notebook methods to find or confirm the path. Remember, paths in DBFS start with dbfs:/.
Step 4—Use REST API to list folder contents
First, you’ll want to list the contents of the folder to ensure you’re targeting the correct path:
Use curl, Postman, Hoppscotch, or any another HTTP client to make an API request:
curl -X GET -H "Authorization: Bearer PERSONAL_ACCESS_TOKEN"
-H "Content-Type: application/json"
-d '{"path": "/<folder-path>"}'
https://<databricks-instance>/api/2.0/dbfs/listYou have to replace <folder-path> with the actual folder path, PERSONAL_ACCESS_TOKEN with the token you have just copied earlier and <databricks-instance> with your Databricks Workspace URL.
Step 5—Delete files inside the folder first using REST API
Since DBFS doesn’t allow deleting non-empty directories directly via REST API, you need to delete each file inside beforehand:
Iterate over each file in the folder and send a POST request to the /api/2.0/dbfs/delete endpoint.
curl -X POST -H "Authorization: Bearer PERSONAL_ACCESS_TOKEN"
-H "Content-Type: application/json"
-d '{"path": "/<folder-path>/filename.csv"}'
https://<databricks-instance>/api/2.0/dbfs/delete
Now you have to replace /<folder-path>/filename.csv with the full path. Remember, you’ll need to make a separate request for each file.
What about large folders?
If the folder contains more than 10,000 files, the API returns a PARTIAL_DELETE error (HTTP 503) after roughly 45 seconds, with a message like:
{

  "error_code": "PARTIAL_DELETE",

  "message": "The requested operation has deleted 324 files. There are more files remaining. You must make another request to delete more."

}
This isn’t a failure; it’s incremental processing. Re-invoke the same request until the API returns a success response. For automation, wrap the call in a retry loop that checks for PARTIAL_DELETE and repeats until the path no longer exists. That said, for truly large directories, Databricks recommends using dbutils.fs in a notebook instead of the REST API.
Step 6—Delete the empty folder using REST API
Once all files are deleted, remove the empty folder. Send a POST request to the /api/2.0/dbfs/delete endpoint with the folder path.
curl -X POST -H "Authorization: Bearer PERSONAL_ACCESS_TOKEN"
-H "Content-Type: application/json"
-d '{"path": "/<folder-path>"}'
https://<databricks-instance>/api/2.0/dbfs/delete
Step 7—Verify the deleted folder from DBFS
Finally, confirm the deletion, attempt to list the folder’s contents again. If the folder has been successfully deleted, the list operation will return an error indicating that the path does not exist.
curl -X GET -H "Authorization: Bearer PERSONAL_ACCESS_TOKEN"
-H "Content-Type: application/json"
-d '{"path": "/<folder-path>"}'
https://<databricks-instance>/api/2.0/dbfs/listThis Databricks REST API method, while more verbose due to the need to handle each file individually, is highly scalable for automation tasks. It’s particularly useful if you’re scripting operations that need to interact with DBFS from outside the Databricks environment. Remember, the API calls are direct and permanent, so always double-check the paths and contents before proceeding.
If you follow these steps thoroughly, you can programmatically manage and delete folders from DBFS using the Databricks REST API, integrating these operations seamlessly into your data workflows.
For more detailed info, refer to the official Databricks DBFS API documentation.
Technique 4—Delete folder from DBFS using Databricks UI
Finally, here’s the easiest way to delete folder from DBFS—directly through the Databricks user interface. This method is straightforward, requiring no command-line or API interactions, just few clicks.
Step 1—Log in to Databricks account
Start by opening your browser and logging into your Databricks account.
Step 2—Navigate to Databricks workspace
Once logged in, you’ll be in your main workspace area. Here’s where all your notebooks, jobs and data reside.
Step 3—Open Catalog section
In the sidebar, click on the Catalog section (represented by a some symbol). This is where you manage DBFS alongside other data sources.
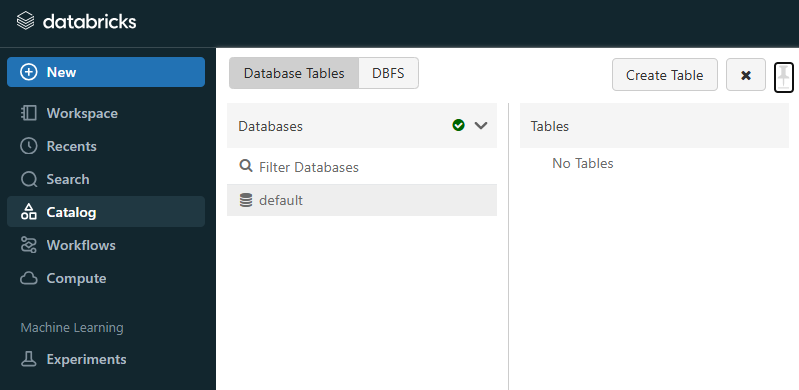
Step 4—Navigate to DBFS tab
Within the Catalog section, select the DBFS tab to view the Databricks File System. This brings you to the file explorer-like interface for DBFS.
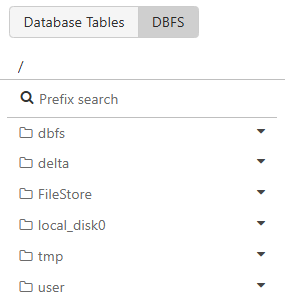
Step 5—Select folder to delete from DBFS
Browse through the directory structure to locate the folder you wish to delete. You can navigate through folders by clicking on them. Once you’ve found the right folder, click on it to select it.
Step 6—Delete folder via UI options
With the folder selected, you have two primary ways to initiate deletion. To do so, Right-click on the folder to open a context menu. From there, select “Delete” or a similar option. Or, look for a delete button or icon (usually represented by a trash can) near the folder listing.
Note: A confirmation dialog will appear. This is your last chance to check whether you’re deleting the correct folder. Confirm the action to proceed.
Step 7—Refresh and verify deletion
After confirming deletion, the folder should disappear from the list. However, to be absolutely sure. Click the refresh icon or press F5 on your keyboard to update the view. If the folder is no longer there, your deletion was successful.
As you can see, this technique is really very handy for those who prefer graphical interfaces or if you’re doing ad-hoc file management tasks. It’s less about scripting or command-line precision and more about straightforward file operations.
Note that, this action, like all deletions, is immediate and permanent in DBFS unless you’ve set up some form of backup. Always double-check the folder you’re about to delete to avoid accidental data loss.
Save up to 50% on your Databricks spend in a few minutes!
Conclusion
And that’s a wrap! DBFS, or Databricks File System, is an essential component of the Databricks platform, offering a unified view to manage data across various storage systems. However, as your data volume in DBFS grows, maintaining an organized file structure becomes essential; deleting unnecessary files or folders not only frees up storage space but also helps you to enhance workspace efficiency and reduce clutter.
A few things worth keeping front of mind:
- DBFS root and DBFS mounts are deprecated—plan your migration to Unity Catalog volumes when you’re ready
- For folders containing more than 10,000 files, use dbutils.fs in a Notebook. The CLI and REST API handle large deletions incrementally and can time out
- Deletions in DBFS are permanent unless your cloud storage provider has versioning enabled
In this article, we’ve explored 4 different techniques for deleting folders from DBFS:
- Technique 1—Delete Folder from DBFS Using Databricks CLI
- Technique 2—Delete Folder from DBFS Using Databricks Notebook
- Technique 3—Delete Folder from DBFS Using Databricks REST API
- Technique 4—Delete Folder from DBFS Using Databricks UI
… and so much more!
FAQs
What types of files can be stored in DBFS?
DBFS supports many file types. That includes structured formats like Parquet, Avro, CSV, JSON and ORC. It also supports unstructured data such as text, images, audio, video and binary files. DBFS works as a filesystem layer over cloud object storage, so file-type limits mostly come from the underlying cloud storage, not DBFS itself.
Is DBFS suitable for production workloads?
Databricks no longer recommends DBFS root for production data, libraries or scripts. Unity Catalog volumes and external locations are the current recommended approach for production workloads. Existing DBFS-based workloads still function, but plan migration when you can.
How does DBFS handle data security?
Security in DBFS is managed through the underlying cloud storage’s access controls like IAM roles in AWS, Azure Active Directory in Azure, or GCP IAM for Google Cloud Storage. Databricks adds workspace-level controls on top, including access control lists (ACLs) and role-based access control (RBAC) for DBFS paths. That said, DBFS root is accessible to all workspace users by default, which is one of the reasons Databricks deprecated it in favor of Unity Catalog’s finer-grained access model.
Can I access DBFS files using external tools?
Yes. You can use the Databricks CLI, REST API or mount cloud storage to DBFS for external access. Databricks also recommends Unity Catalog volumes for non-tabular data stored in cloud object storage. These provide better governance and access control than DBFS mounts.
What happens to my data in DBFS if I terminate my cluster?
Your data stays intact. DBFS data lives in the cloud storage linked to your workspace, not on the cluster itself. Terminating a cluster doesn’t affect it.
Where are DBFS files physically stored?
In the cloud storage bucket associated with your Databricks workspace (Amazon S3, Azure Blob Storage or Google Cloud Storage) depending on your cloud platform.
Can I recover a deleted folder from DBFS?
Generally, no. Deletions are permanent unless your cloud storage provider has versioning or soft delete enabled. AWS S3, Azure Blob Storage and GCS all support versioning. But you need to enable it proactively, not after the fact.
Can I delete files from DBFS without the CLI or API?
Yes. The Databricks UI provides a file browser under Catalog => DBFS where you can navigate and delete files or folders directly.
What if the folder is too large to delete using the CLI?
If the folder has more than 10,000 files, the CLI may time out. Switch to Technique 2, use dbutils.fs.rm(“dbfs:/<folder-path>”, recurse=True) in a Databricks Notebook. For very large or heavily partitioned datasets, consider batching the deletion by listing subfolders and deleting them incrementally.
Can I delete folders using the Databricks REST API without deleting the contents first?
Yes. The /api/2.0/dbfs/delete endpoint supports “recursive”: true, which deletes non-empty directories directly. You don’t need to delete individual files beforehand. For folders with more than 10,000 files, handle the PARTIAL_DELETE response by re-invoking the request until completion.
What permissions do I need to delete a folder from DBFS?
You need write permissions on the folder or its parent directory. In Databricks, this is managed through workspace-level permissions or through your cloud storage’s access policies if you’re interacting with DBFS-backed storage directly.